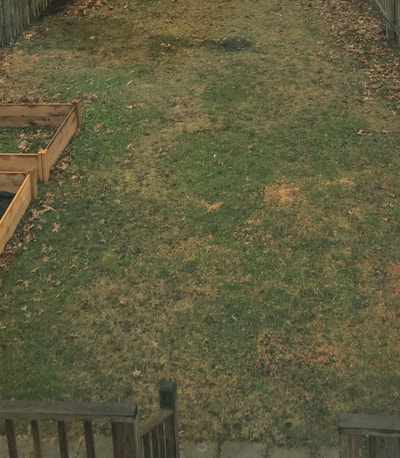
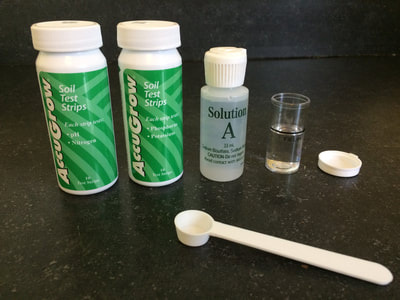
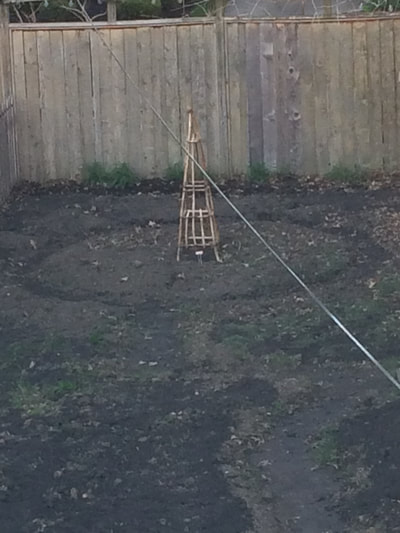
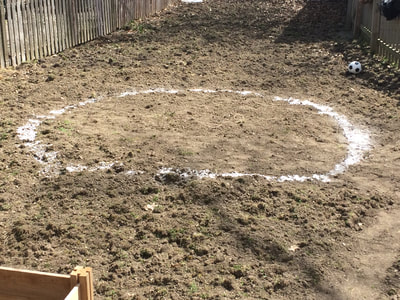
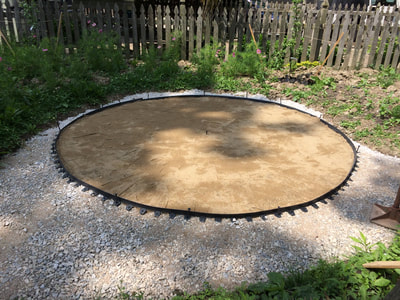
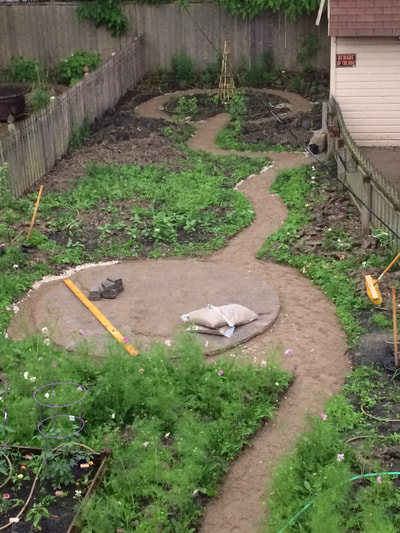
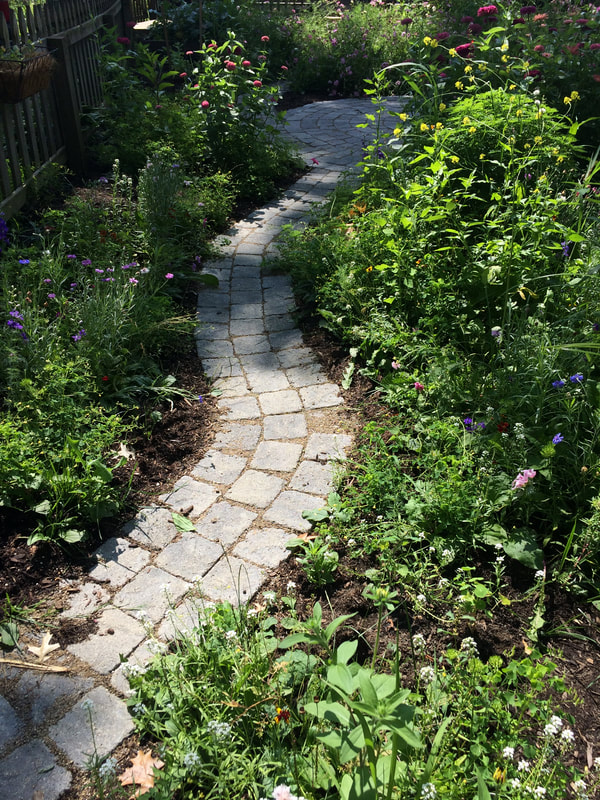
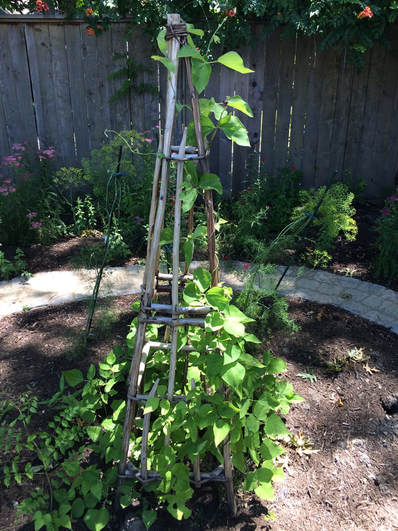
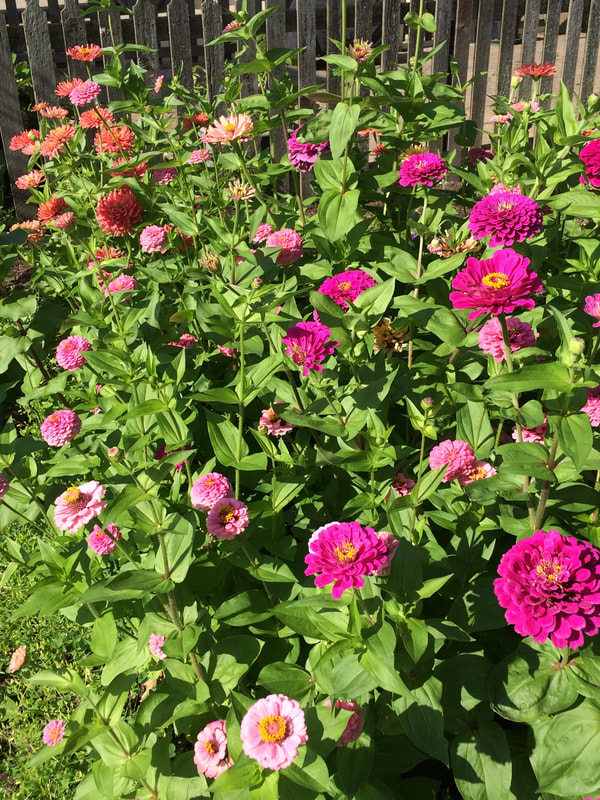
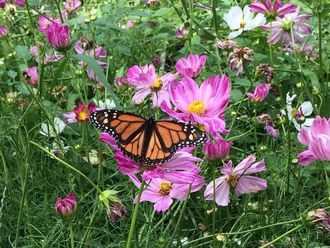
 Monarch butterfly lands on cosmos Monarch butterfly lands on cosmos Have you ever looked out at your garden and thought “I wonder what else is possible for this space?” or even “Where’s all the wildlife?” I found myself thinking that very thing, last winter. This blog is about how I transformed our back lawn into an edible garden full of flowers, herbs and vegetables, and I’ll give you step-by-step instructions on how you can elevate your own space, no matter where you live. Dream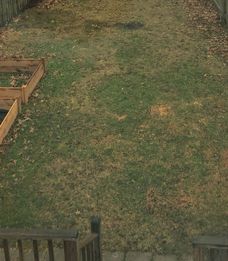 Our backyard, pre-transformation. Our backyard, pre-transformation. When we bought our Lakewood, Ohio house, I inherited a backyard lawn that required regular watering and mowing every few weeks. Our community is situated on Lake Erie and our nature-loving family is always out enjoying some outdoor activity. But I kept thinking to myself – why do we need to go somewhere else to enjoy nature? Why don’t I bring the wildlife to my own backyard? Will the butterflies, birds and bees come to our land if we transform our backyard into a garden and safe haven? Can we enjoy nature right here, and grow our own food and flowers on our own property? I started to imagine what could be possible. 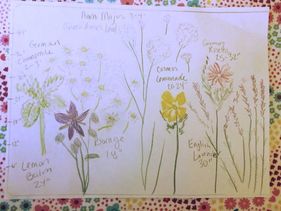 Proposed garden border. Proposed garden border. First, I sketched out on paper what I wanted my garden to look like. I wrote down a list of things I wanted to include in the garden, I clipped pictures of flowers, herbs and I even made a list of pollinators I wanted to attract. The tip here is justifying your dream garden with your capabilities and budget. I had to be realistic about my space limitations, and then cut all but the essentials off my list. Then I mapped it all out. Check out my urban farm plan for details on how you can better plan your garden space. Prioritize what you think you can fit into your space and understand the limitations you are working with. For example, as much as I love willow trees, I realized there just wasn’t a great location for one on my urban lot. Then I listed out realistically what I’d need to purchase this year, and what purchases I could delay until year two or three. I think this is the biggest stumbling block for beginning gardeners: we often want a fully landscaped space (and we want it now). When in reality, it takes years to build up something like that, as both cost, infrastructure work and plant development all take time. Don’t give up before you start – just realize that those blueberry bushes you planted might take a few seasons to bear fruit. InnovateIn order to prepare for the season, I mapped out in Google calendar all of the important dates I knew I’d want to remember. This included first and last frost dates, seed starting dates and direct sowing dates of plants I knew I wanted to put in. I also tested the soil in a few different places in the yard to better understand what I was working with. Two weeks before the last frost date (in order to maximize my growing season) I tilled up my entire backyard. This can be done at any time, but this is the date I’d planned out for myself. I rented a tiller from the hardware store and got it all done in one day. Now I bet some of you are probably wondering why I tilled up my land, and maybe others of you till your gardens each year. You may have heard a lot about regenerative soil practices and alternative methods to tilling lately. While I am 100% in favor of no-till gardening and farming, and I’ll explain the factors that led me to this decision to till up my backyard, just this once. First, I knew I was working with heavily compacted clay soil that not been improved in years, if ever. That means when I went to start double-digging, a method I’d learned about in one of Rodale’s gardening books, I knew it would take me at least a month to do my property. Just getting my shovel into the ground was difficult. By digging up the heavily compacted first few inches of soil, I knew I could then start working in compost and any other needed soil amendments. Another method, the lasagna method, isn’t practical for large areas and doesn’t fully solve the compaction problem. So, my philosophy is till once, if you must. Then start implementing regenerative soil practices so that you’ll never need a tiller again. Amend the soil with lots of compost, working it in as you make the beds. Amend soil with blood or bone meal or calcium according to what your soil test indicates. I tilled up the yard and immediately started shaping where the beds would be as gardeners should never walk on that soil again if you can help it. This helps prevent the soil from compacting again. I then brought in a few truckloads of compost and started working that into the existing soil. I marked the walkways and brought the wheelbarrow along marked paths. In just a week, my yard went from a barren patch of grass to a large expanse of beds ready for planting. I then started putting in infrastructure. This can include raised beds, pathways, garden beds, special feature areas, trellises and fences and more. There are so many options to choose from, I suggest you go on Pinterest or do some reading so you can list out the most important garden features that would make your particular garden special to you. When reading the book Gaia’s Garden, I loved the beauty of an herb knot garden, a hedge maze, a labyrinth garden or mandala garden. From a visual perspective, winding paths, slightly-wild cottage gardens, and beautifully planned outdoor living spaces attract me. So, I put in a winding path with a keyhole herb garden and a circular stone patio large enough for a fire pit and chairs. There’s still lots of space for greenery, but it helps me functionally get across the garden in a beautiful way and also provides a visual break from all of the different plants. After I laid the stone pathway and patio area, I set out drip irrigation lines all across the yard. I hooked them up to timers so that the entire watering process was automated. I chose drip irrigation vs. above ground sprinklers because when growing certain types of plants (especially things like tomatoes) it’s important not to splash the foliage if at all possible. I also like the idea of laying out drip irrigation because then I could customize and move the lines around throughout the year as I brought in different plants in different areas of the garden. It is easy for me to provide extra water to certain areas depending on the needs of the garden. Automating the watering supply was the smartest thing I did this year in the garden, because I was able to automate something that requires lots of work, saved on water by timing my watering sessions for early in the morning when the evaporation rate is lower and overall saved me a lot of time. I was even able to go on vacation without having someone come over to water the garden, which was a huge relief. Next year I hope to purchase a few rain barrels and hook my drip irrigation up to those, conserving water and cost. The Lakewood H2O program sells them as a fundraiser item each year, so I’ll be sure to pick up a couple then. Grow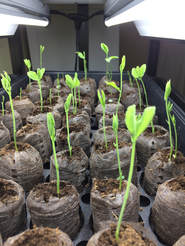 Seed starting Seed starting There are as many ways to grow a garden as there are stars in the sky. I invested in an indoor light growing kit this year, so that I could start seeds indoors ahead of the last frost date. By the time May arrived, my entire dining room was filled with trays and young plants in containers. I liked to use the seed trays as they performed well for me. I was then able to transplant those right into the garden when ready. I also used larger biodegradable pots for some of the bigger transplants which also worked well. While I’ll save the pros and cons of seed-starting vs. buying plants for another blog post, when you are ready, refer to the garden sketches you have made and start settling your plants into your garden beds. The ground was already prepared in my instance, but again my recommendation is to mix some fresh compost into the ground if you haven’t done so already, which improves the soil health and makes the ground much more workable. Loosen an area about as twice as wide as the pot and set the plant in. Move the dirt back into the hole and gently pat it with your hands. Water (but don’t drown) the plant and make sure you water regularly every other day or so until those plants are established. Mulch around the plants with a natural, dye-free mulch. This will help with weed prevention and also the mulch will eventually break down and add to the organic matter on the ground. I personally would not put down weed fabric because in the long term, it causes many more problems than solutions for a home gardener. Instead, if you feel like you must have a weed barrier, I have had good results with Johnny’s paper mulch which biodegrades over the season. As you can imagine, after I dug up my lawn I had a real battle with weeds. The paper mulch acted as a nice barrier to suppress many of the weeds and I covered the top with wood chip mulch to help with appearance. The paper mulch also helped divert water towards the young plants and warmed up the garden beds just a bit, which is helpful in our unpredictable spring climate. 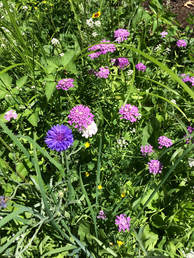 Wildflowers. Wildflowers. Now’s the fun part – watch things grow, and don’t be afraid to let things get a little wild. No matter how much planning you do, every plant and creature in your garden is its own entity with its own claim in this universe. There’s no way you can control every aspect of your garden’s appearance, nor should you. Enjoy happy accidents and learn from them for next season. If you struggle with this, be sure to prepare a more formal garden design before starting out. Things got a little wild in my garden this year. The zinnias that I planted were projected to grow three feet tall – some are taller than five feet now. Next year I will plant them along the border, rather than flush in the middle of the garden. My wildflowers took off, and although they looked like a weed patch for a month, the end result was the most beautiful section of my garden. My only regret was that I didn’t buy more seed. I also realized that my blueberry plants, while they did well, probably will benefit if I move them to a full-sun location.
These are the lessons that can’t be learned on paper. Track your progress. Sit in your garden with your journal or laptop and take notes about how the garden is developing. Don’t be afraid to get your hands dirty and above all, have fun making the garden an extension of your own personality. Mine is a little wild, and beautiful, and a haven for butterflies, birds and bees. And an absolute riot of color. I wouldn’t have it any other way. Comments are closed.
|
About UsThis is a blog about turning lawns into edible gardens, providing a habitat for pollinators and living a more sustainable life. We hope to inspire others to plant a garden to save the world. CategoriesArchives
September 2018
© Copyright 2018 Wildflower Lab
|

